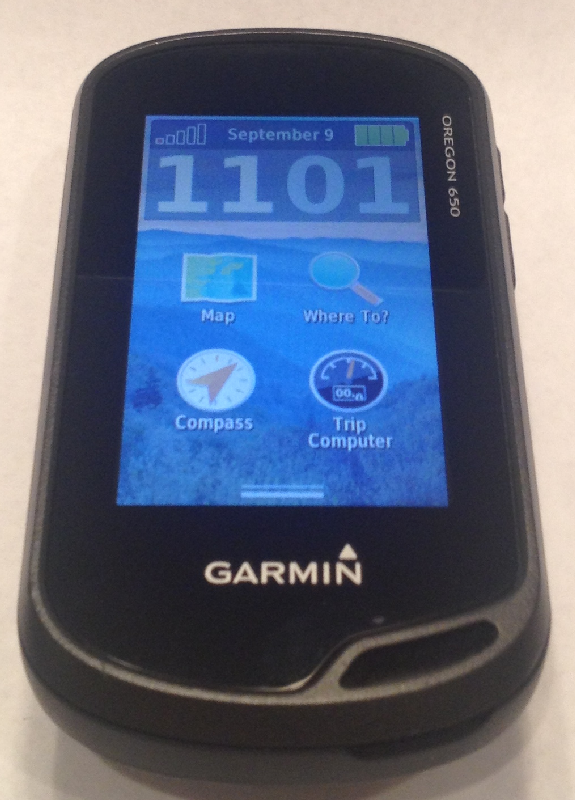
- A visual reference guide to disassemble, examine, and reassemble your Garmin Oregon 6xx GPSr.
- Requires a steady hand and plenty of patience.
- Required tools include a T6 and T5 torx driver, and a small jewelers flat blade screwdriver.
- Detailed HD images are available here.
Disassembly
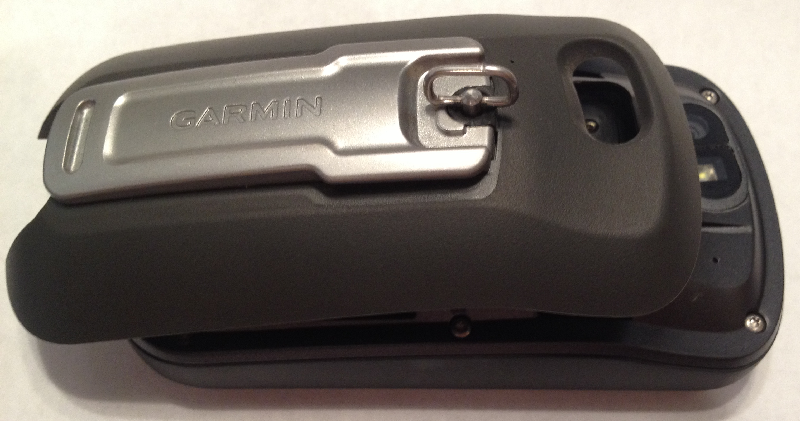
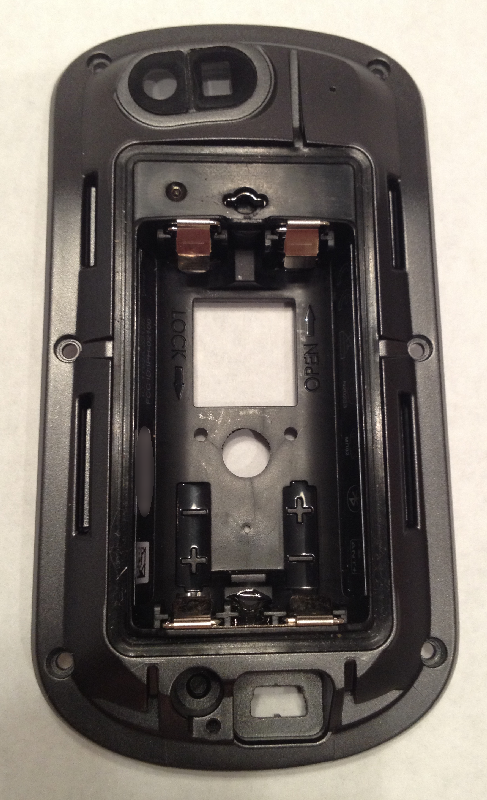
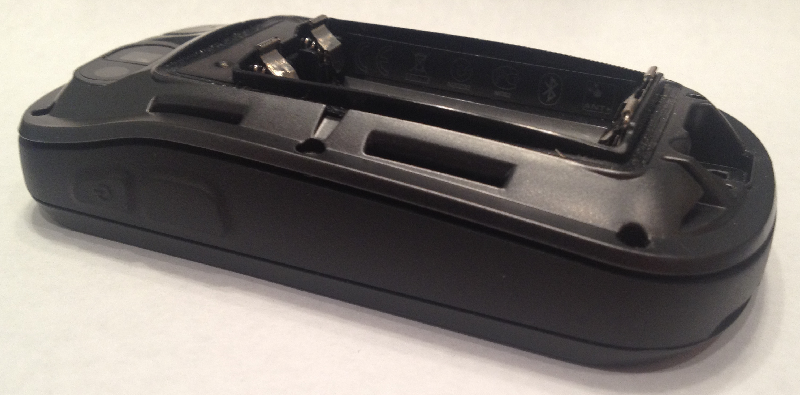
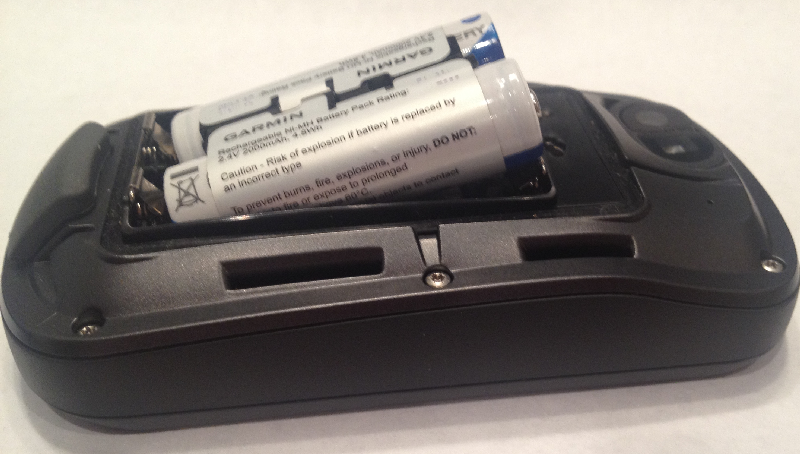
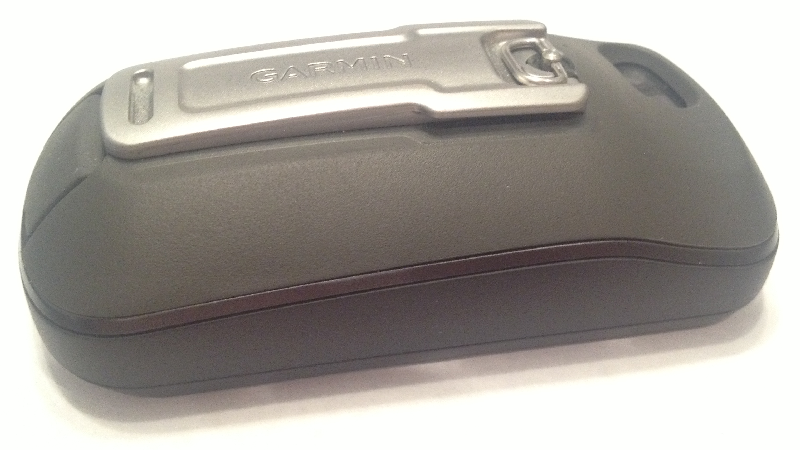
01. Release and remove battery cover.
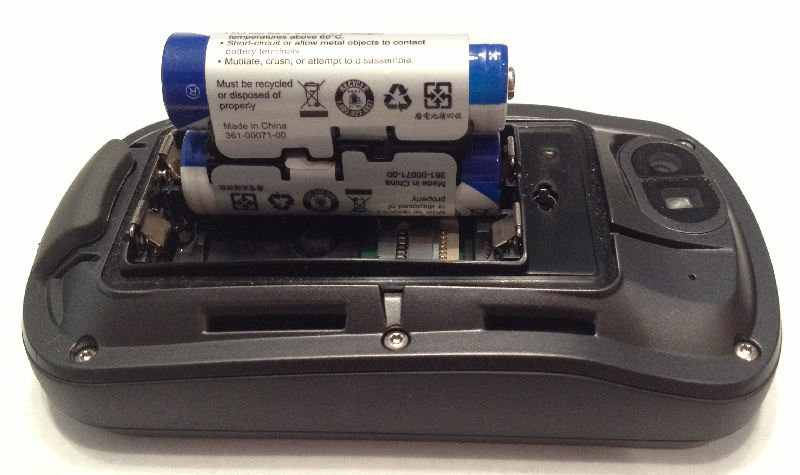
02. Remove installed batteries.
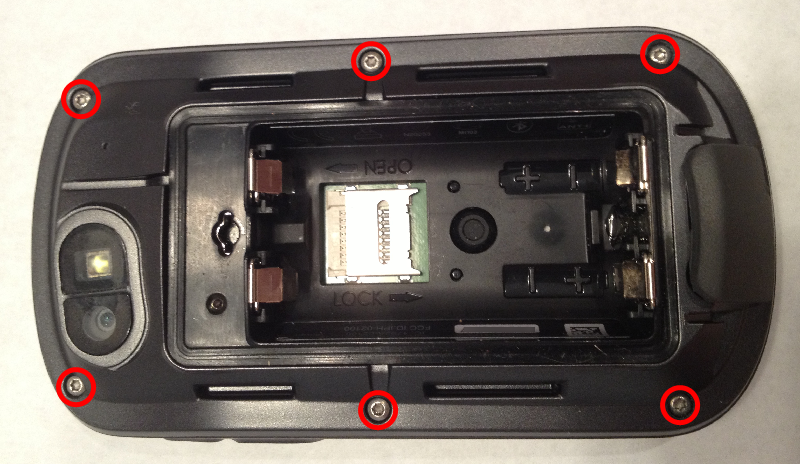
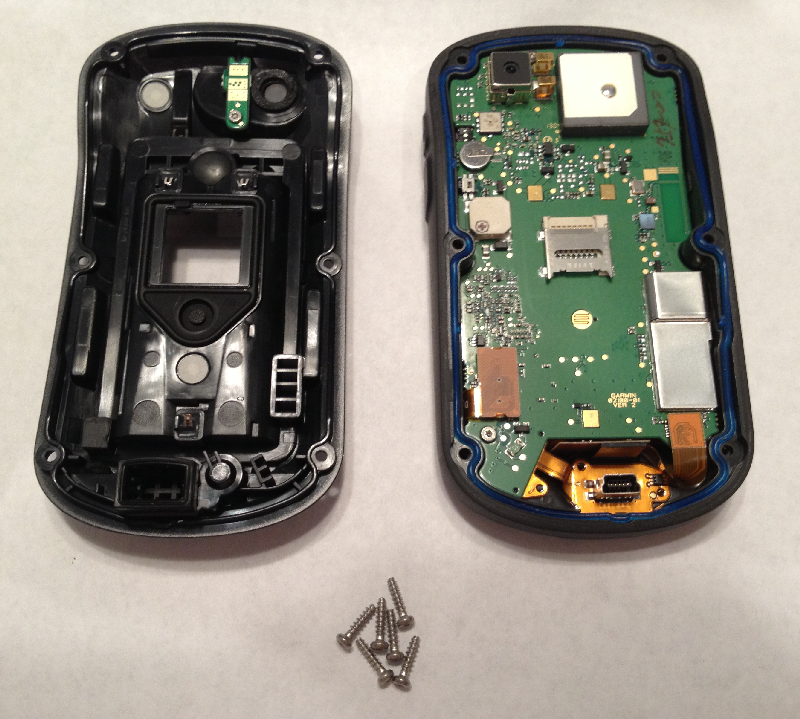
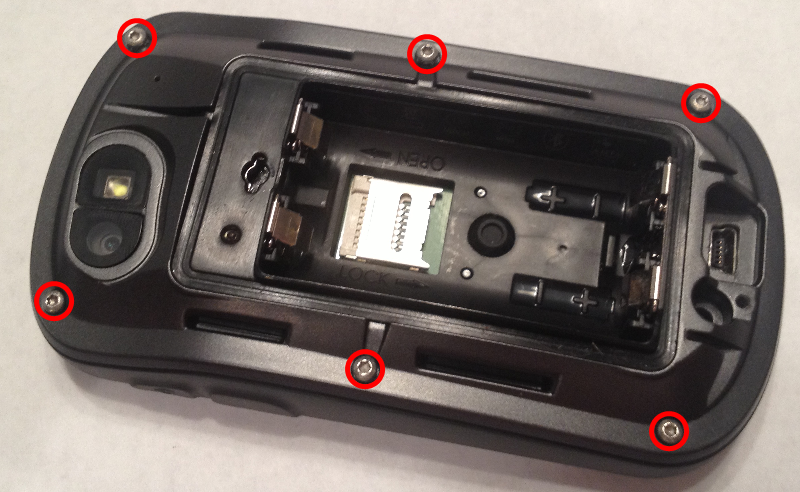
03. Remove six (6) T6 Torx screws.
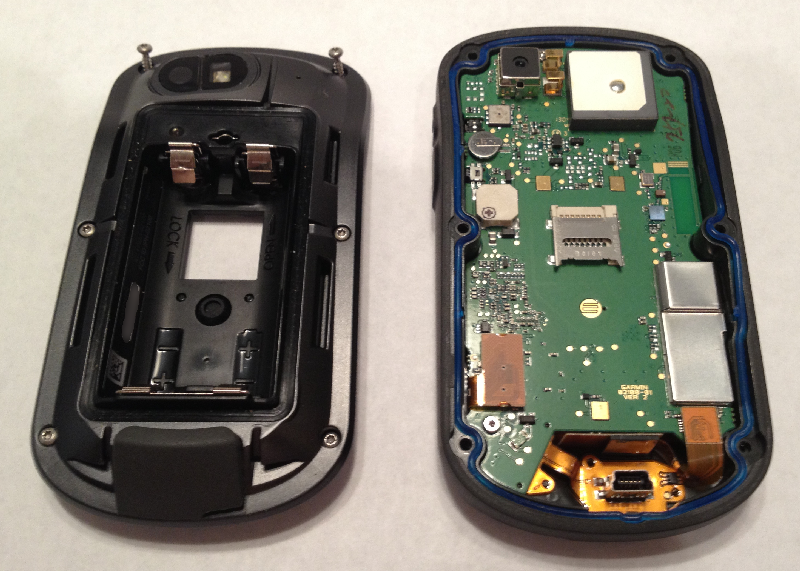
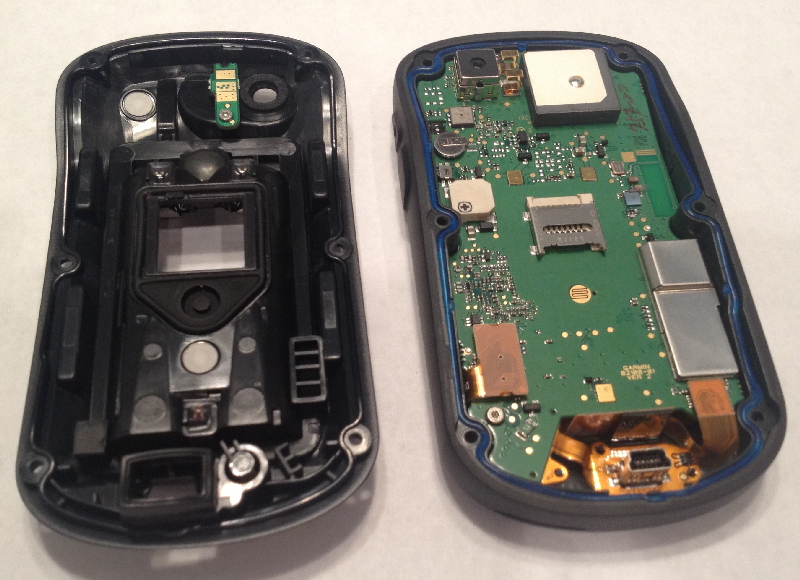
04. Carefully separate battery housing from the screen housing.
05. T6 Torx screws can be removed from battery housing.
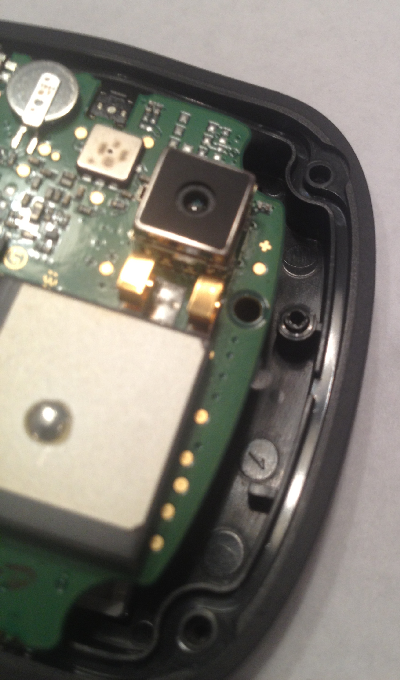
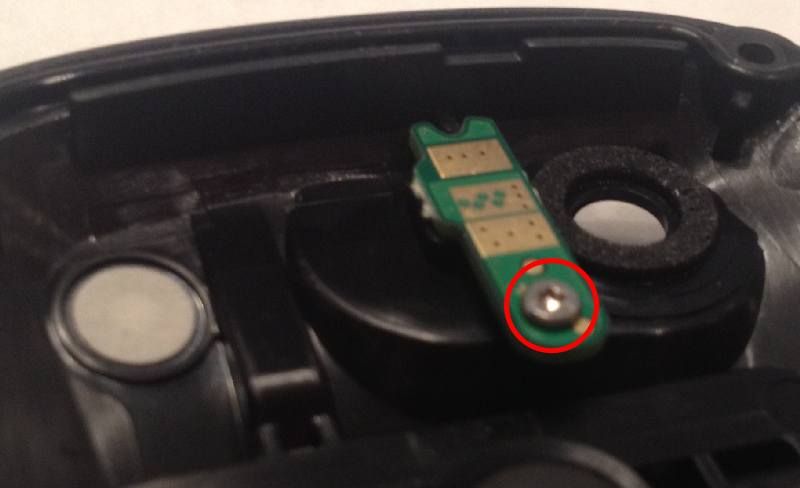
06. Remove the LED Flash Module (T5 Torx), µSD gasket with button, and USB gaskets as desired.
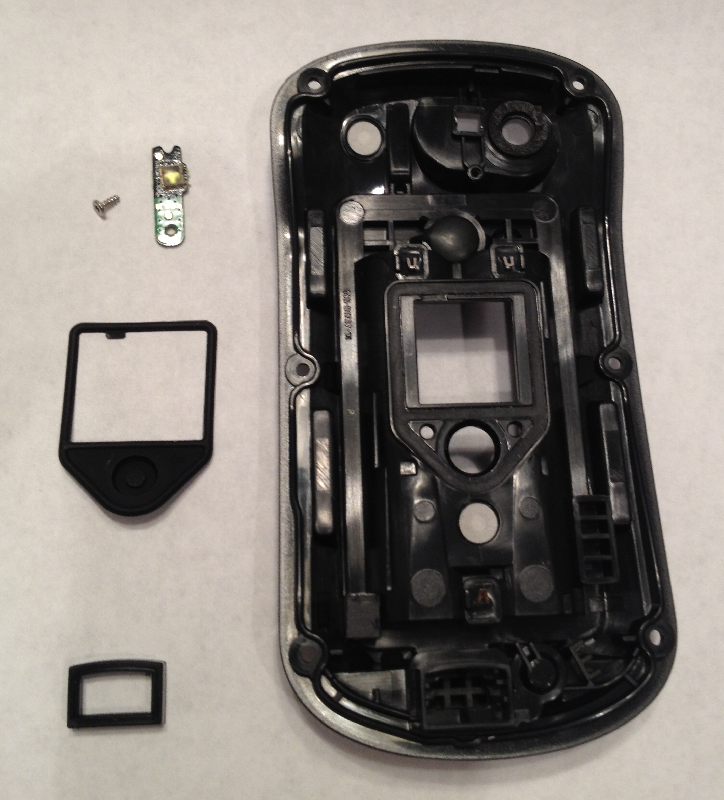

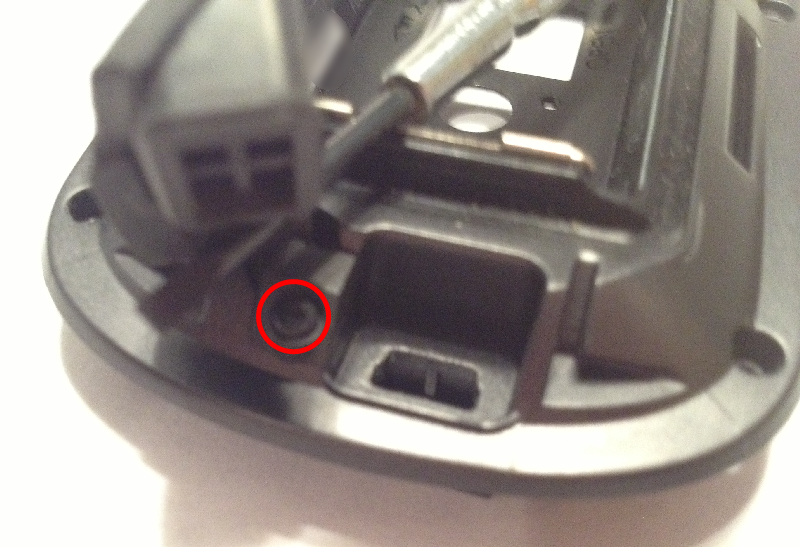
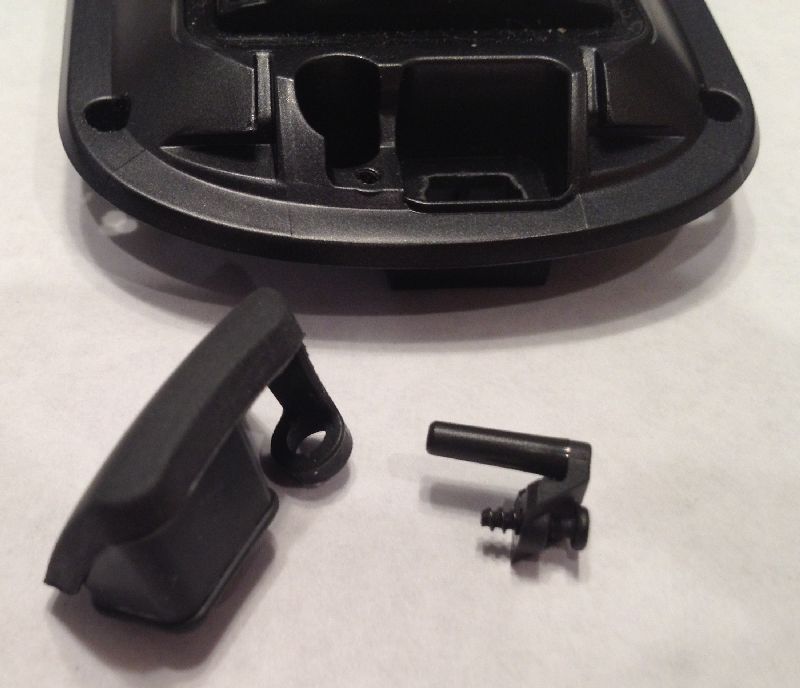
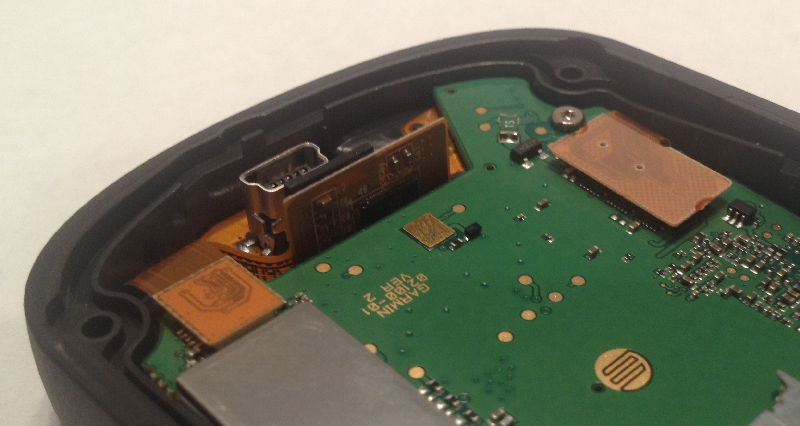
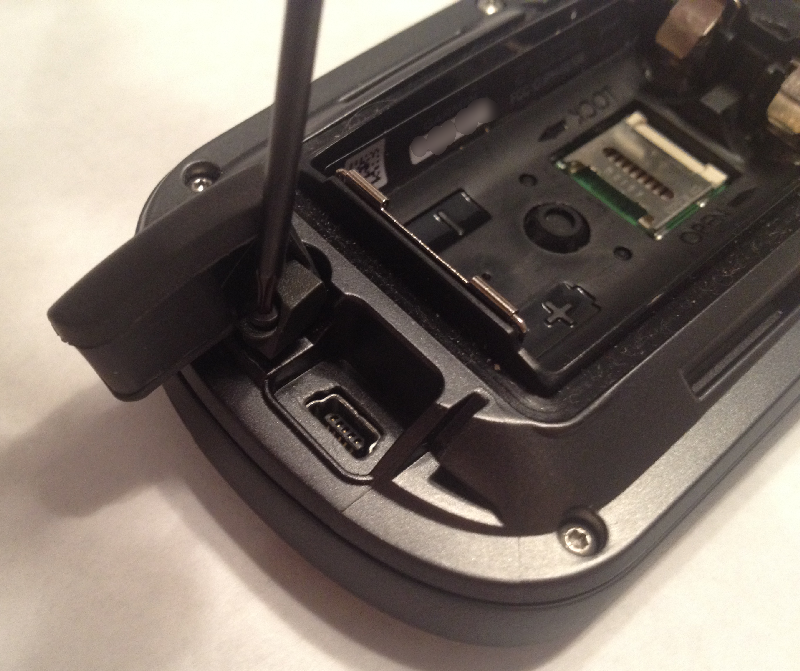
07. Remove USB dust cover (T5 Torx).
08. Battery housing disassembly complete.
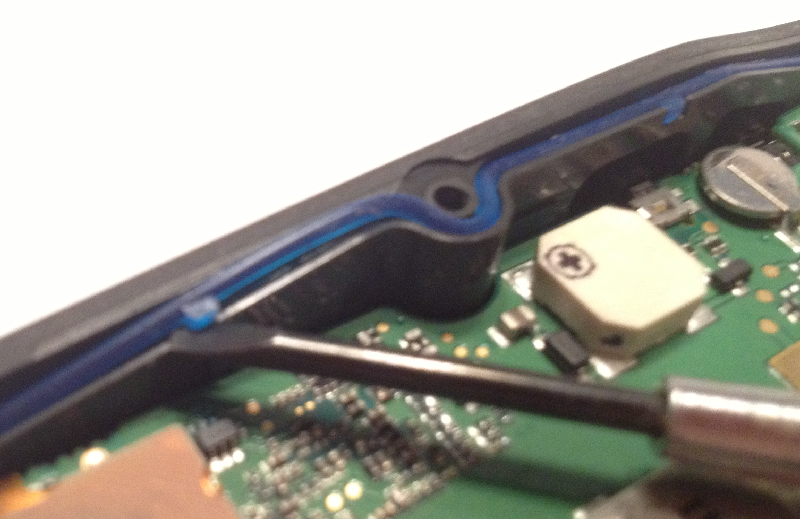
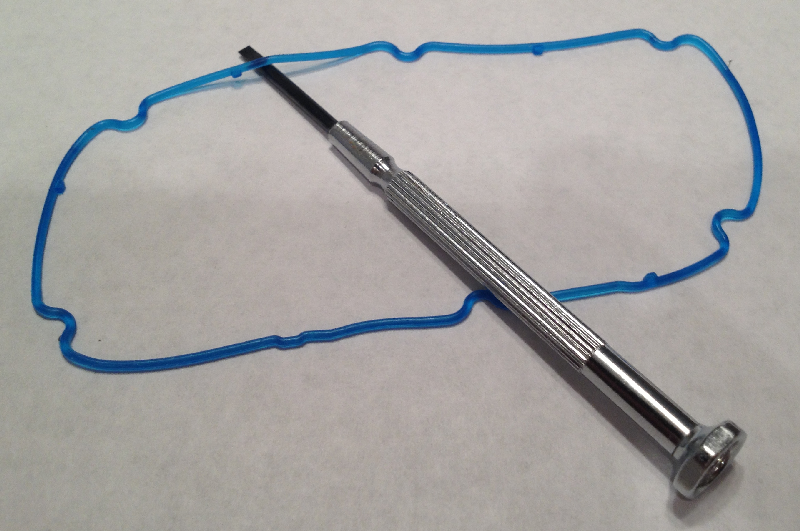
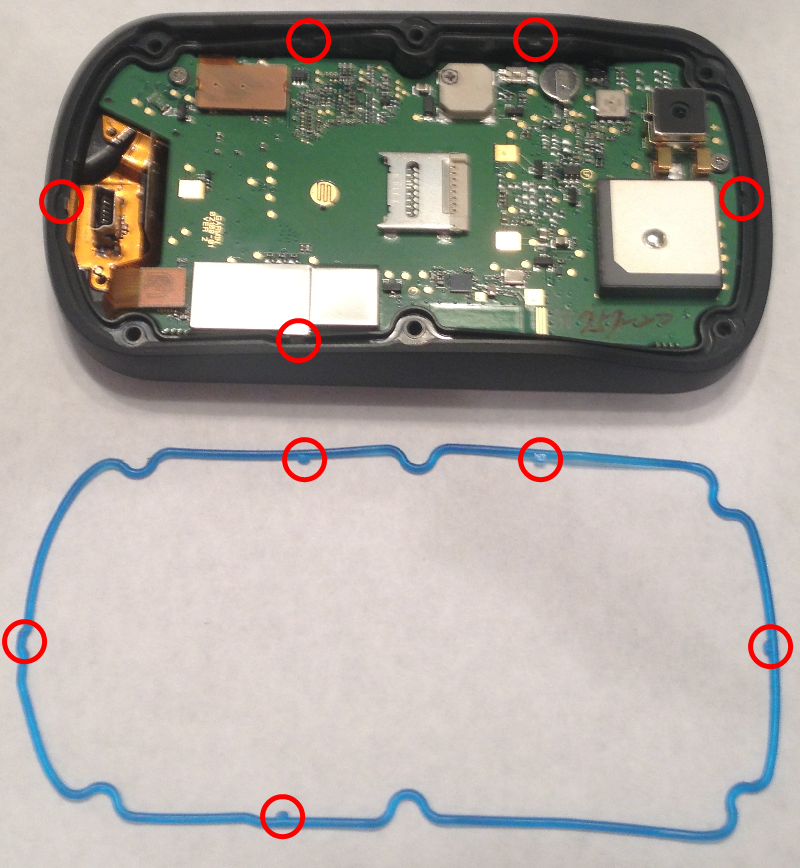
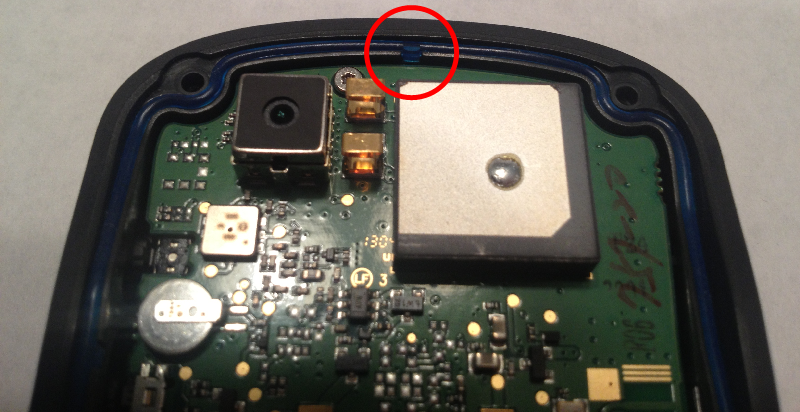
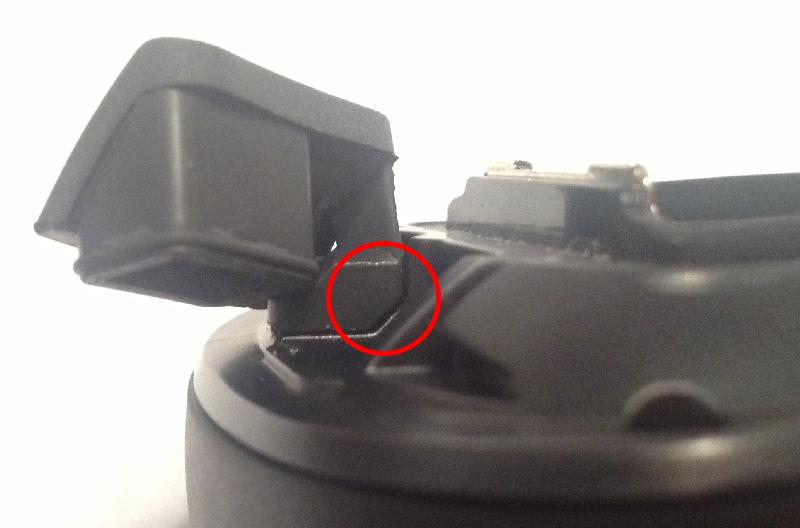
09. Extract gasket from screen housing taking care to not damage it.
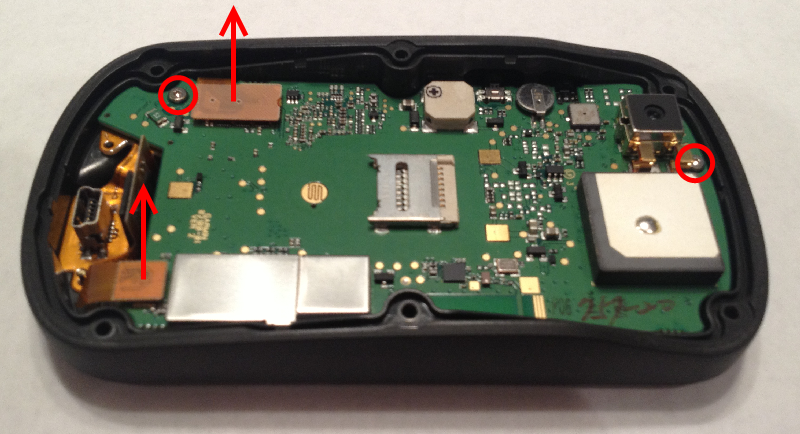
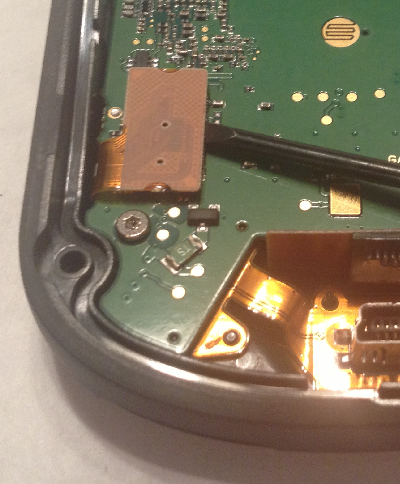
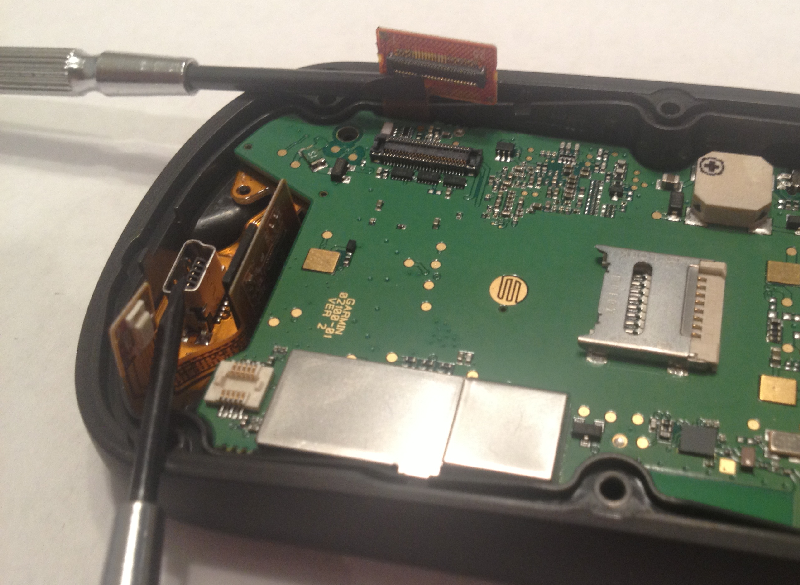
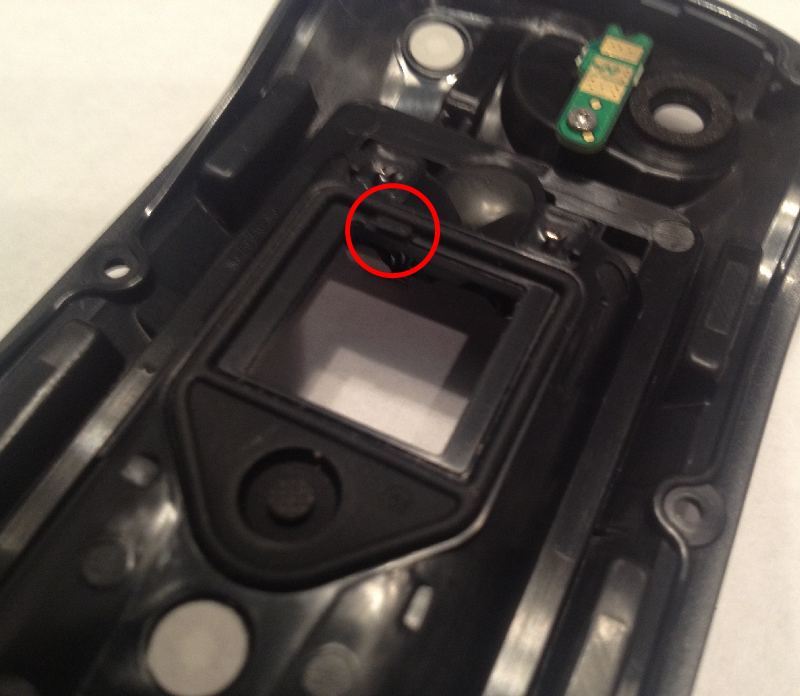
10. Remove two (2) T5 Torx screws and release the LCD ribbon connectors.
|
|
|
|
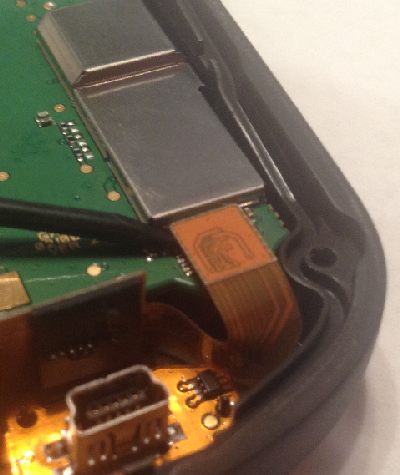
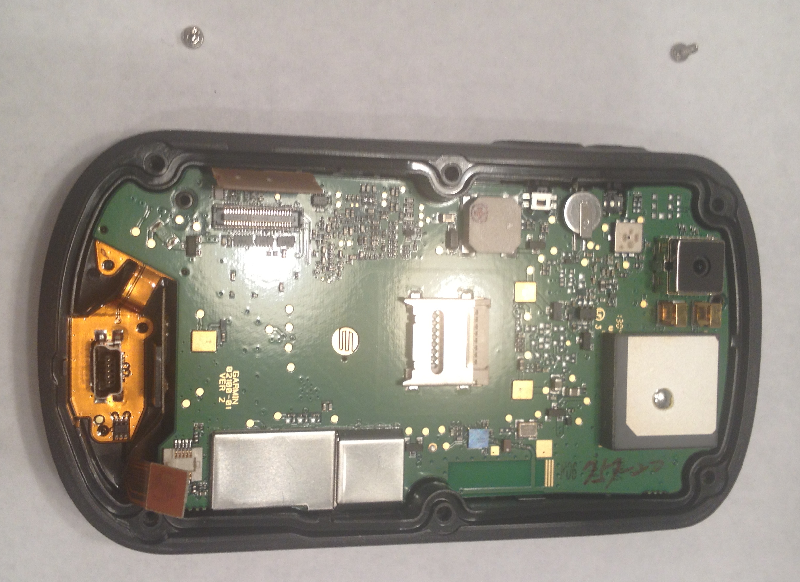
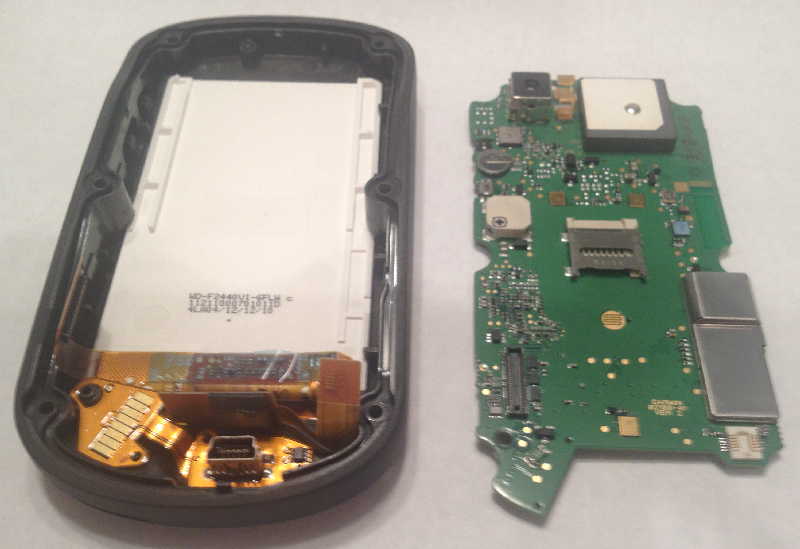
11. Carefully lift circuit board out of screen housing.
12. Disassembly complete! (Detailed HD images available here).
Reassembly
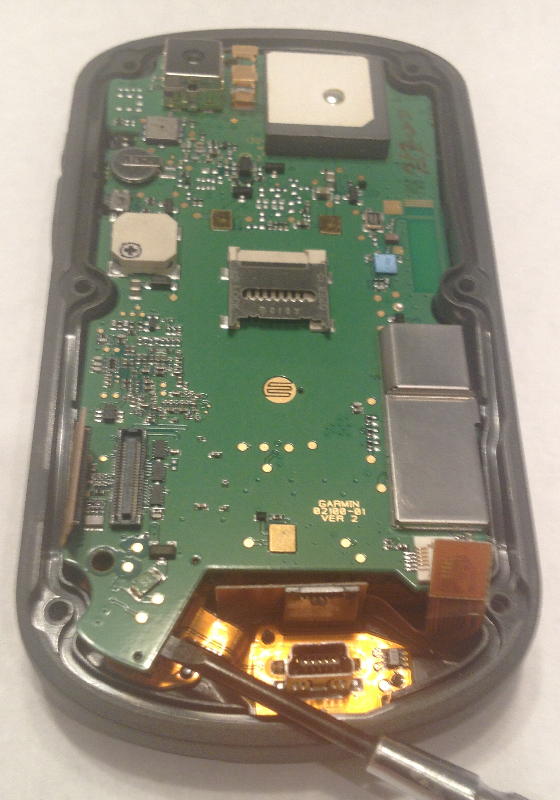
01. Place circuit board into screen housing and align with screw bores.
|
|
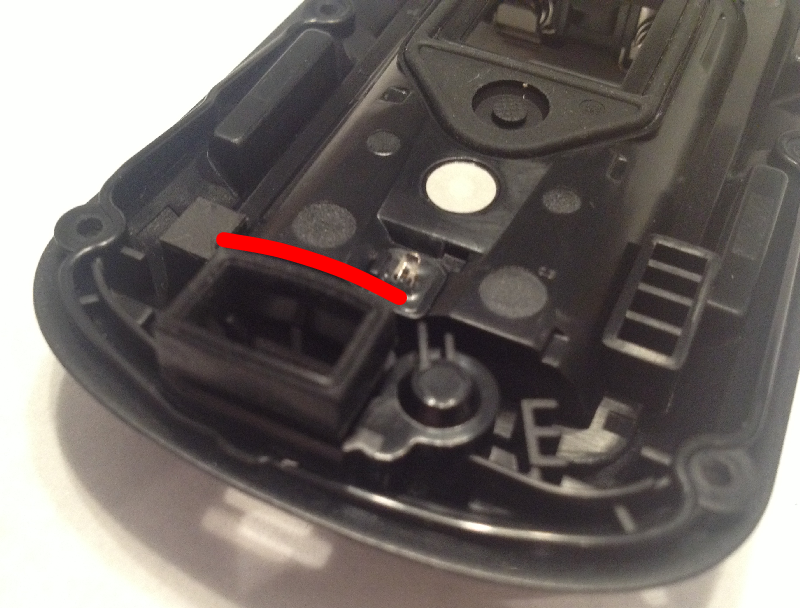
02. Move LCD ribbons aside while locating the opposite end of the circuit board.
03. Secure LCD ribbons into their connectors and replace two (2) T5 Torx screws (do not over tighten).
04. Confirm proper housing gasket orientation before installation.
05. Place gasket onto screen housing.
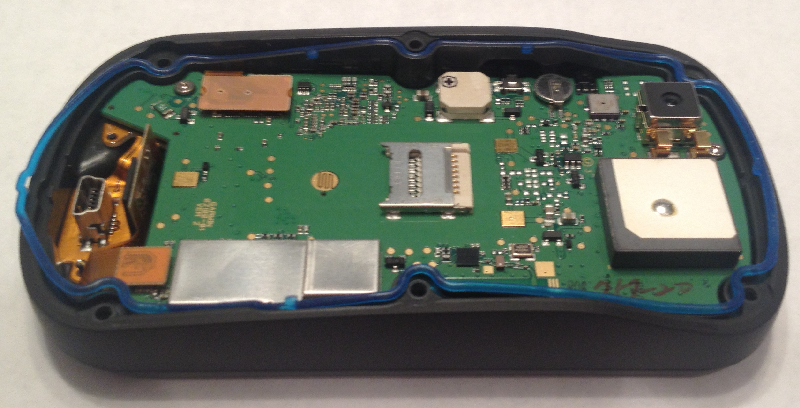
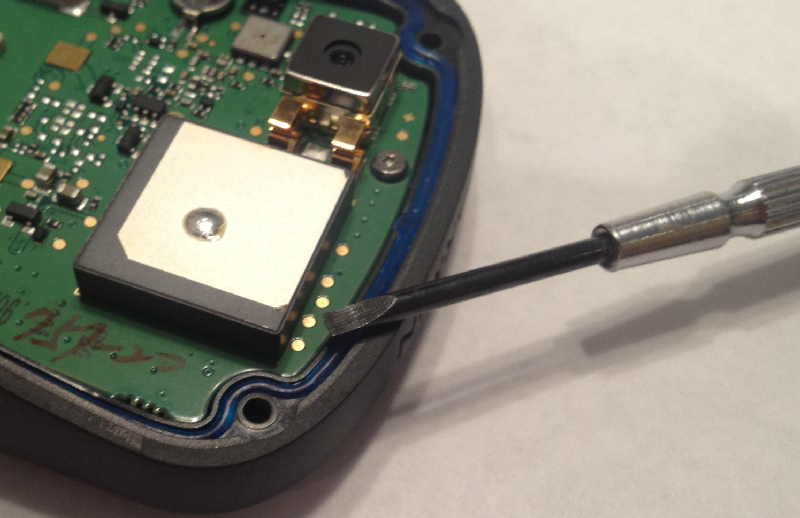
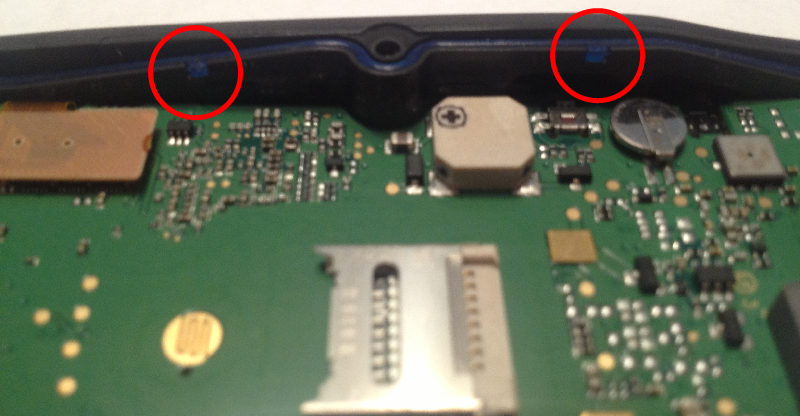
06. Gently press gasket into guide, being careful to properly locate all alignment tabs.


07. Secure LED Flash Module with T5 Torx screw (do not over tighten) as required.
08. Align and replace µSD gasket with button as required.
09. Position USB gasket as required, taking care to properly locate curved edge.
10. Check all screws and connections, and verify gasket surfaces are clear of debris.
11. Carefully join battery housing with screen housing.
12. Insert and tighten (do not over tighten) six (6) T6 Torx screws from center outward.
13. Install USB dust cover (T5 Torx, do not over tighten) as required, carefully checking for proper alignment.
14. Install removed batteries.

15. Replace battery cover and secure.
16. Power up and test Oregon 6xx for proper function.
|
|
Reassembly is Complete!